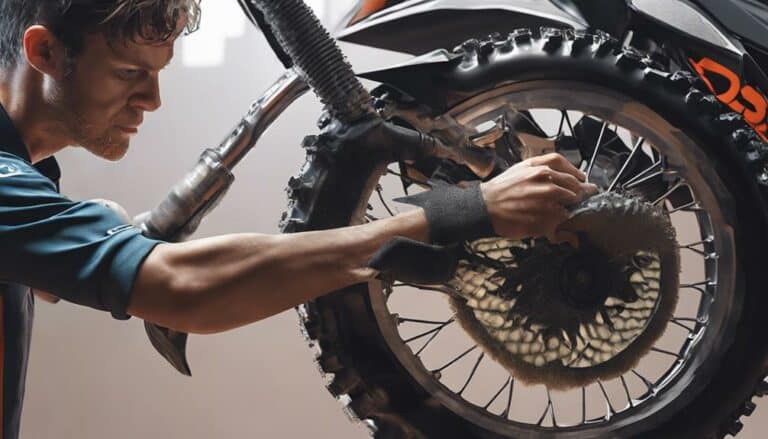
When it comes to maintaining your dirt bike's air filter, ensuring it stays clean is important for top performance. But, do you know the proper steps to take for a thorough cleaning process that will keep your engine running smoothly?
Understanding these steps will not only benefit your bike's fuel efficiency but also play a role in enhancing overall performance.
So, let's get into the essential steps for properly cleaning a dirt bike air filter and keeping your ride in top shape.
Key Takeaways
- Remove and inspect air filter cover carefully.
- Clean foam filter and plastic cage thoroughly.
- Soak, agitate, rinse, and air dry the filter.
- Reinstall the dry filter securely in the housing.
Remove Air Filter Cover
To begin the process of properly cleaning your dirt bike air filter, start by removing the air filter cover located near the engine. The air filter cover is important in protecting the air filter from debris and dust.
First, disconnect any clips or fasteners securing the cover in place. Once these are undone, carefully lift off the cover to reveal the air filter underneath. It's essential to handle the cover with care to avoid any damage.
Make sure the cover is set aside in a clean and safe place where it won't get contaminated during the cleaning process. By removing the air filter cover, you gain access to the heart of your bike's air filtration system. This step sets the stage for a thorough cleaning that will help your dirt bike perform at its best.
Separate Foam Filter From Cage
After removing the air filter cover, proceed to separate the foam filter from its plastic cage for thorough cleaning. This step is important in maintaining the efficiency of your dirt bike's air intake system. Here are some steps to help you separate the foam air filter from the plastic cage:
- Gently detach the foam filter from the plastic cage by pulling it away.
- Inspect the foam filter and the plastic cage for any signs of damage or excessive dirt accumulation.
- Be careful not to tear or damage the foam filter during the separation process.
- Make sure that both the foam filter and the plastic cage are cleaned properly before reassembling them.
Separating the foam air filter from its plastic cage allows you to clean each component effectively, ensuring that your dirt bike's engine receives clean and filtered air for best performance. This step sets the foundation for the next stages of the cleaning process.
Soak Filter in Soapy Water
For effective dirt bike air filter cleaning, begin by immersing the filter in a solution of soapy water. This step is vital to guarantee a thorough cleaning process. Here's a step-by-step guide on how to soak the filter in soapy water:
| Steps to Soak Filter in Soapy Water |
|---|
| 1. Prepare a solution of mild detergent or specific air filter cleaner in a container. |
| 2. Submerge the entire air filter into the soapy water solution. |
| 3. Confirm the filter is completely covered in the water for effective cleaning. |
| 4. Follow the recommended soaking time provided by the cleaner to achieve maximum cleanliness. |
| 5. Gently agitate the filter in the soapy water to dislodge stubborn dirt and debris. |
Rinse and Dry Filter
Immerse the rinsed dirt bike air filter in a well-ventilated area to facilitate the drying process thoroughly. Once the filter has been rinsed and excess water squeezed out, follow these steps to make sure it's properly dried:
- Place the filter in a clean, dry location away from direct sunlight to avoid any potential heat damage.
- Allow the filter to air dry naturally for at least 24 hours to make sure all moisture is completely evaporated.
Check the filter's condition before proceeding to apply air filter oil to make sure it's completely dry. Make sure the filter is completely dry before applying air filter oil to avoid any unwanted clogs or restrictions in airflow.
Properly drying the filter is essential to maintain peak air flow and prevent any issues with the engine. By following these steps, you'll make sure that your dirt bike air filter is clean, dry, and ready for reinstallation without compromising performance.
Reinstall Filter and Housing
To guarantee peak performance and prevent moisture-related issues, make sure the dirt bike air filter is completely dry before reinstalling it into the housing. Inspect the filter for any tears or damage before placing it back into the air box. It is important to align the filter properly in the housing to prevent air leaks or debris bypassing the filter. Secure the filter housing tightly to avoid any unwanted movement during bike operation. Double-check all connections and seals to ensure a thorough installation and best filter performance.
| Steps to Reinstall Filter and Housing | ||||
|---|---|---|---|---|
| 1. Ensure filter is completely dry | 2. Check for tears or damage | 3. Align filter correctly in the housing | 4. Secure the filter housing tightly | 5. Double-check connections and seals |
Conclusion
To sum up, by following these simple steps, you can guarantee that your dirt bike air filter is properly cleaned and maintained. Keeping your air filter clean won't only enhance your bike's performance but also extend its lifespan.
So don't forget to regularly clean your air filter to keep your engine running smoothly and efficiently. Happy riding!

